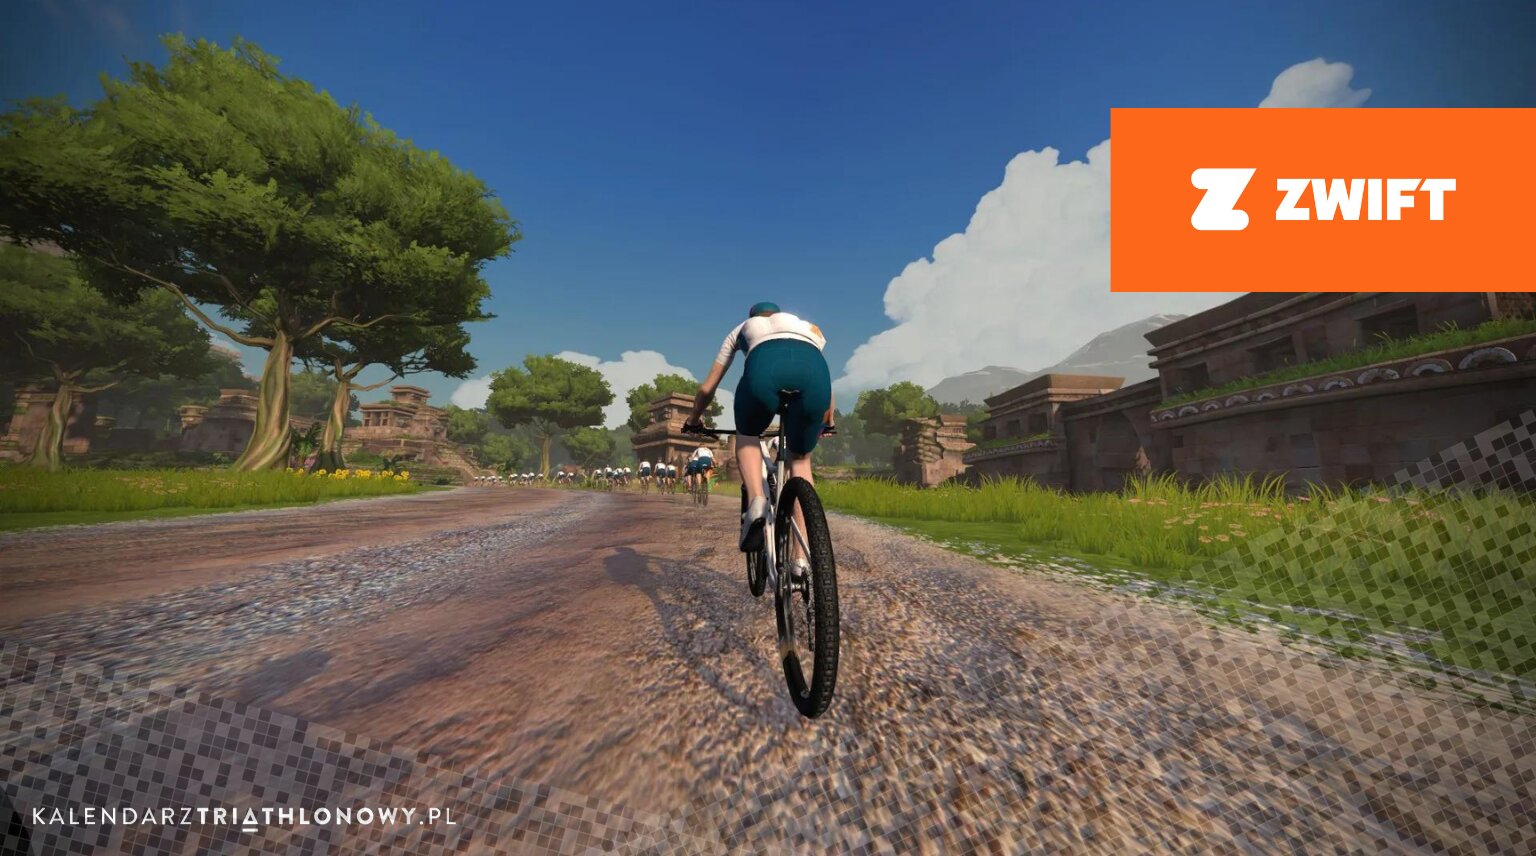
For years, level 100 was a ceiling in Zwift. You reached it and kept riding nowhere, at least in points terms. In the spring/summer 2026 update, the platform removed that cap on the bike and raised the running ceiling from 30 to 50. Alongside it comes a feature that suggests your next workout for you, and a challenge linking indoor trainer riding with real roads.
The end of the level 100 ceiling
As of 29 April 2026, cycling progression in Zwift has no upper limit. Past level 100 there are no more new kits or unlocks, but every further level still costs 50,000 drops, the in-game currency spent on gear in the virtual shop.
Zwift also introduced accelerated experience counting for riders who had been stuck at the century mark for a long time despite continuing to ride. The surplus points convert at a rate of 4:1, so the climb catches up faster than new kilometres accumulate. Runners got the same mechanism in a weaker form, 2:1, along with the level cap rising from 30 to 50. For now there are no new kits for the higher running levels, just the number climbing.
For a triathlete who spends a dozen or so hours a month on Zwift over winter, this is not cosmetic. Once someone hit the top, progression stopped meaning anything. Now the counter keeps turning, so long winter indoor intervals produce a tangible side effect again, beyond the TSS number itself.
Next Up: Zwift suggests your workout
The second major change is recommendations inside the Zwift Companion app. The Next Up card suggests what to do in your next session: a specific workout, a Robopacer Ride, or a route, based on your recent ride and run history and your weekly goal, if you set one.
If you connect a Garmin, Wahoo or Hammerhead account, the recommendations also take in workouts done outside the app, on the road, not just on the trainer. Zwift says this helps the system avoid overtraining and lets it suggest rest. That makes sense for a triathlete: Zwift stops looking only at what happens inside it and tries to judge the load across the whole week.
The Indoor Outdoor Challenge: four tiers, not one
The Indoor Outdoor Challenge runs from 1 July to 30 September 2026. Riders mix trainer sessions in Zwift with outdoor activities, and the kilometres add up to a single pool. The condition for outdoor kilometres: a Garmin, Wahoo or Hammerhead account connected through Companion.
The part that is easy to miss in the announcements is this. There are four reward tiers, not one:
Tier
Reward
250 km
100,000 drops
500 km
an exclusive cap and 20% off Maurten
750 km
5,000 XP
1,000 km
an in-game kit and an entry into a draw for a trip to L’Étape du Tour de France 2027
Even if a rider does not reach a thousand kilometres in the quarter, it is still worth doing the maths. The Maurten discount unlocks at 500 km, roughly 40 km a week. The grand prize is a trip to L’Étape 2027, with flight, accommodation and a $100 Maurten voucher, drawn among everyone who reaches 1,000 km.
No sign-up is needed. Anyone with an active subscription is in the challenge automatically.
What this actually changes in training
None of these features replaces a training plan built for a specific race, but for an amateur juggling work, family and training, it helps in two concrete places. First, “stuck at level 100” stops working as a demotivator for winter sessions. Second, linking watch data with the indoor riding app finally gives one coherent picture of the week instead of two separate logs.
Next Up is brand new, and so far there is mostly beta feedback rather than hard data on how well it works. It is not yet clear how it handles unusual plans, for example full-distance training with long volume blocks instead of the standard 70.3 structure. It is a feature that learns from a rider’s history, so its accuracy should grow with regular use.
You spend thousands on a bike, aero wheels and an integrated bottle between the aero bars, and the one part that connects you directly to the drivetrain gets bought as an afterthought. Cleats are the single point through which all the power you generate reaches the crank. Badly chosen or badly set up, they can wreck your knees on a 90 km loop through Kashubia. Set up well, they simply disappear. You do not feel them, you just ride.
Here is how the main systems differ, how to diagnose foot and knee pain, what it costs to buy into a given standard, and how to set your cleats so your foot sits in the shoe like it grew there.
Road systems versus MTB: why three bolts make a difference
Many beginner triathletes start out in mountain bike shoes and pedals (the MTB system, such as the popular two-bolt Shimano SPD). They make walking around transition easier, but on a long road ride they have serious drawbacks.
Road systems (Look, Shimano SPD-SL) use a three-bolt mount and a much larger composite cleat. That larger contact area guarantees better power transfer and eliminates hot spots, the points of heavy pressure under the sole that, in MTB shoes, cause uncomfortable burning after a few dozen kilometres.
The one word to learn before you buy: float
Before you pick a brand or a colour, you need to understand float, the working play in the cleat inside the pedal. It is the freedom your heel has to rotate sideways while clipped in, before the foot releases.
Zero float: the foot is locked rigidly in one fixed position.
High float: the heel can move freely from side to side through the pedal stroke.
This is not a detail for gear geeks. The human knee does not move in a perfectly straight line while pedalling, it has its own natural, individual path. If a cleat locks the foot against that biomechanics, all the extra load lands on the knee joint. That is why, for most amateurs, especially over long distances, moderate float is far safer than a rigid zero.
Three systems, three philosophies
Look Keo, the universal standard
A system built around a triangular plastic cleat that dominates road cycling and triathlon. Look marks float by cleat colour:
Black: 0° float (fully rigid).
Grey: 4.5° float (the usual compromise).
Red: 9° float (a lot of freedom).
For most amateur triathletes, grey or red cleats are the natural choice. They give the knee plenty of room without the foot feeling like it is flapping sideways.
Shimano SPD-SL, the most common on the road
Mechanically close to Look Keo, but not compatible with it: a Look cleat will not clip into a Shimano pedal and vice versa. Its colour code runs:
Red: 0° float (rigid, for sprinters and professionals).
Blue: 2° float (a very tight, precise range).
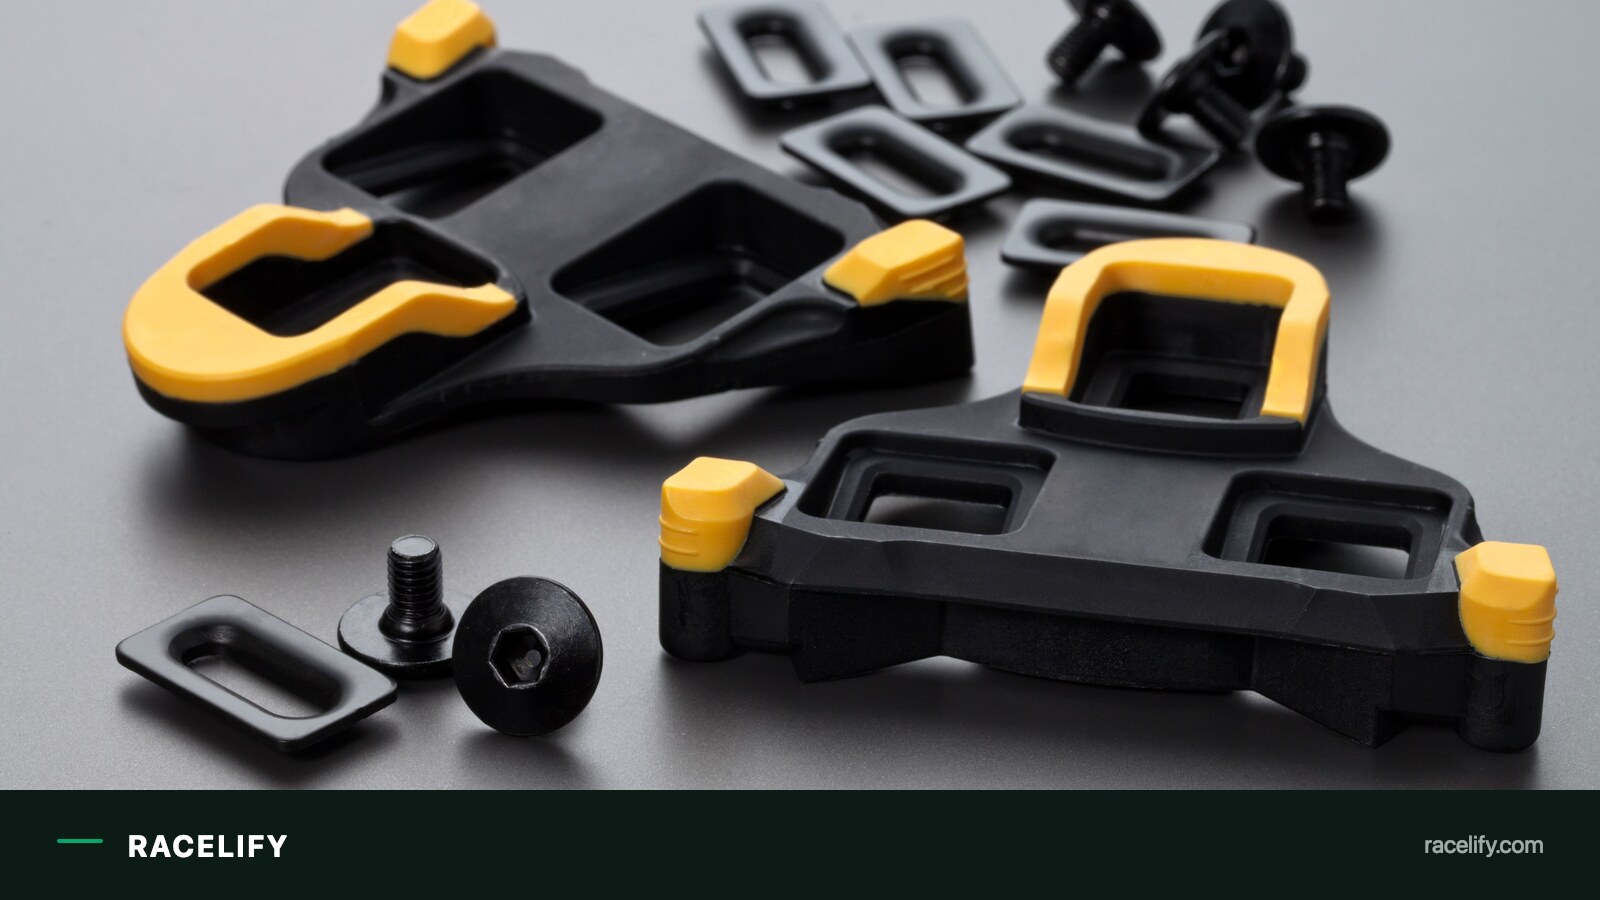
Yellow: 6° float (3° each way).
Most riders use yellow cleats. It is the safest, most forgiving starting point, one that tolerates small errors in setup.
Speedplay, the precision option
Distinctive, double-sided round pedals, often nicknamed lollipops. Their standout feature is smoothly adjustable float, from 0° all the way to 15°. That range is set mechanically with small screws in the cleat itself, independently for each foot.
For riders dealing with patellar tracking issues, old injuries, or an anatomical leg length difference, Speedplay is often the only route to pain-free riding. The downsides are a high entry price and the need for regular cleaning and lubrication of the mechanism hidden inside the cleat.
System
Float range
Character
Look Keo
0° / 4.5° / 9°
Universal standard for road and triathlon.
Shimano SPD-SL
0° / 2° / 6°
Safest starting point for most riders (yellow cleats).
Speedplay
0° to 15°, continuously adjustable
For knee issues and leg asymmetries.
How to set up cleats so your knees survive the season
Buying the right kind of cleat is half the job. The other half is bolting it to the sole correctly. Three planes need precise control:
Fore-aft position: the classic rule places the pedal axle directly under the ball of the big toe (the first metatarsophalangeal joint). In triathlon and time trials, though, many bike fitters deliberately move the cleat back a few millimetres. That shift takes real load off the calf muscles and Achilles tendon over a long bike leg, saving your legs for the run. Remember that moving the cleat back also changes your effective saddle height, so do not experiment with it right before a race.
Angle (rotation): the cleat needs to sit so the clipped-in foot lands in its natural anatomical position. For most people that means a slight inward or outward tilt of the heel. Do not guess. Sit on a trainer, pedal, and watch how the leg wants to sit naturally. Float will forgive a small offset, but it will not correct a foot that is forced into a drastically wrong position.
Side-to-side position (foot Q-factor): how far apart your feet sit has a big effect on the knee’s path. A shoe set too close to or too far from the crank arm pulls the knee inward or lets it drift outward under load, generating heavy strain in the joint.
Golden rule: no revolutions right before a race. New cleats, a drastic position change and a long distance at full effort are the simplest recipe for a sudden injury you cannot undo mid-course. Test any correction for weeks, in low-intensity sessions.
A cheat sheet for the sore: diagnose your pain
If you feel discomfort after clipping in, your body is sending a clear signal that one of the planes is set wrong. Here are the most common patterns worth checking:
Numb toes or a burning foot: the cleat sits too far forward, toward the toes, pressing on blood vessels and nerves. Try moving it back toward the heel by 2 to 3 mm.
Pain at the front of the knee (under the kneecap): this can mean the cleat is set too far back, forcing the knee to work through too deep a bend. Too low a saddle causes the same symptom.
Pain behind the knee: a sign the cleat sits too far forward, so the leg over-straightens in the bottom of the pedal stroke and strains the tendons.
Pain on the outside of the knee (IT band): often comes from incorrect cleat rotation, forcing the heel too far inward or outward from its natural path.
What it costs to buy into each system
Running costs vary a lot by brand. The figures below are US list prices, for replacement cleats alone and for full starter sets.
Cleats alone (replaced once a season or more often)
Look Keo (black, grey, red): about $23 for a genuine set. Grip versions with non-slip pads cost a few dollars more.
Shimano SPD-SL (red, blue, yellow): about $34 a set. Avoid suspiciously cheap copies online, they crack and can release unexpectedly during hard efforts.
Speedplay (Standard or Easy Tension cleats): about $60 a set. The price reflects the fact that the whole release mechanism sits in the cleat, not the pedal.
A full starter set (pedals plus cleats, boxed)
Look Keo: from $95 for the entry-level Keo Classic, through $155 for the popular mid-range Keo 2 Max Carbon, up to $195 for the flagship race model, the Keo Blade Carbon.
Shimano SPD-SL: $80 for the entry-level PD-RS500, $89.95 for the tough and most popular amateur standard, the Shimano 105 PD-R7000, $200 for Ultegra and $280 for the top-end Dura-Ace.
Speedplay (Wahoo): from $149.99 for the entry-level Speedplay Comp, up to $229.99 for the flagship stainless steel Speedplay Zero.
The marker trick: swap a worn cleat in two minutes
Fitting new cleats does not have to mean another trip to the bike fitter. To keep your existing, dialled-in position, use this simple trick:
Before unscrewing the worn cleat, clean the sole thoroughly of dust and mud.
Take a fine-tipped waterproof marker and trace the outline of the old cleat directly onto the sole.
Remove the old screws, place the new cleat exactly inside the drawn lines, and gently start the threads.
Tighten the screws evenly, ideally with a torque wrench set to 4 to 5 Nm. Over-tightening can permanently damage a carbon sole, while under-tightening lets the cleat shift during a ride and strips the threads.
Tip: before driving in the new screws, put a small drop of anti-seize grease on the threads. It stops the metal seizing up under sweat and road spray.
When to replace cleats
The plastic cleats in Look and Shimano systems are a wear item. Walking in them across transition, petrol stations or tarmac car parks grinds the soft plastic down fast.
Badly worn cleats sharply and unpredictably increase the working float, and in extreme cases the foot can release on its own under a hard pedal stroke or on rough road. Using rubber protective covers, so-called coffee shop caps, at about $15 a pair, when walking, and avoiding dragging your shoes on tarmac, extends their life considerably. The rule is simple: if you feel play in the pedal or the foot pops out when you tug on it, it is time for a new set.
The plan in three sentences
Choose cleats with safe working float, such as yellow Shimano at 6° or grey Look at 4.5°, to give the knee natural freedom of movement. Fit the fore-aft position to your own anatomy, considering a slight backward shift of the cleat to take load off the calves before the run. Do every cleat replacement and setup correction well in advance, using the marker method, and cut the risk of sudden pain out on the course.
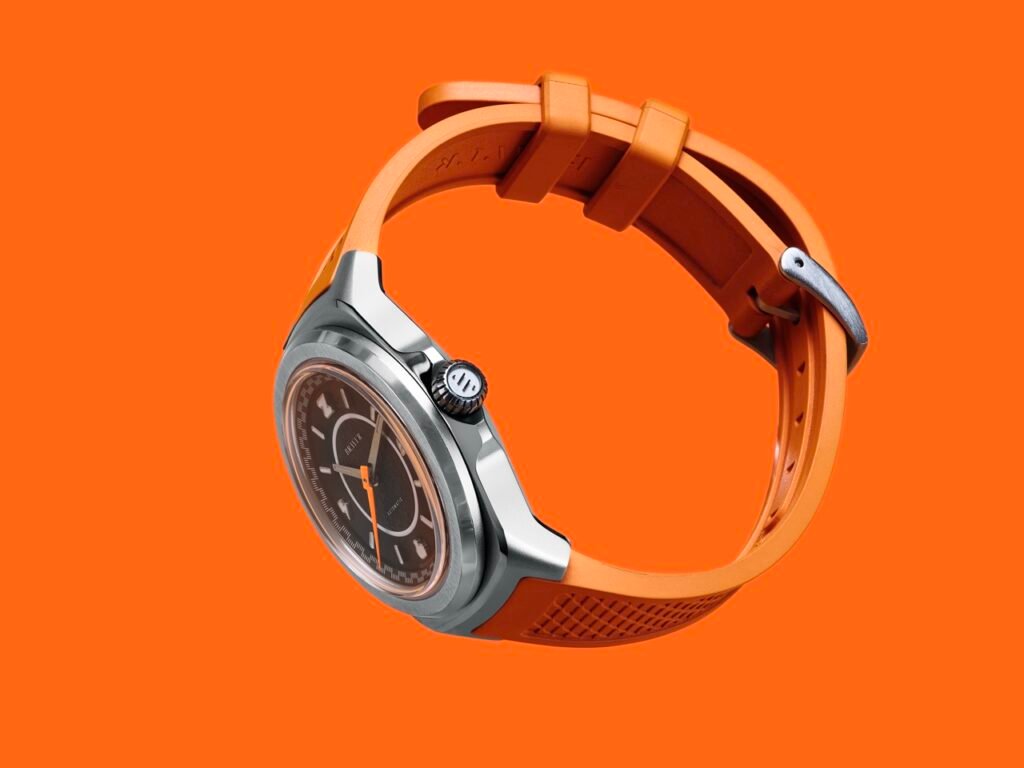
The company that taught us to watch watts through an entire winter of indoor training has just released a watch that won’t show a single one. Zwift has teamed up with Swedish watchmaker Bravur to build a limited-edition mechanical watch. The price is about $1,195 (before US tax), €1,395 in Europe, and £1,099.95 in the UK. Only 100 numbered pieces went out worldwide.
A watch that deliberately isn’t a smartwatch
This isn’t competition for Garmin, COROS or Suunto. The watch has zero GPS, zero heart rate monitoring and zero power. It’s a classic mechanical watch built around the automatic Sellita SW200-2 movement, the wind-by-wrist-motion mechanism used in proper Swiss timepieces.
The specification reads like watchmaking, not sports tech:
37 mm stainless steel case.
Sapphire crystal glass.
Water resistant to 100 m.
Assembled in Sweden.
The package includes a vegetable-tanned brown leather bike bag.
Where Zwift shows up
All the detail sits on the dial. The Zwift logo sits at 12 o’clock, surrounded by references anyone who has ridden a virtual lap of Watopia will recognise. A power-up symbol sits at 3 o’clock, a lightning bolt for generated watts at 9 o’clock, and a thumbs-up, the platform’s “Ride On”, at 6 o’clock. Each watch’s individual number is engraved on the case back.
It’s a gadget for insiders. Someone with no connection to Zwift will just see a nice, expensive watch. Someone who has spent hundreds of hours in the trainer’s pain cave will spot the details immediately.
Does it make sense for a triathlete
Practically none. You’ll still wear a GPS sports watch for training, and this one will sit in a drawer or on your wrist outside training hours. It’s a collector’s and lifestyle piece, more jewellery for cycling fans than sports equipment.
The launch does point to a trend worth noting. Zwift, which built its position on trainers and data analysis, is moving into the luxury segment, a sign that endurance brands are increasingly targeting the lifestyle market and selling a sense of belonging to a community.
Summary
The watch is interesting but entirely unnecessary for training. The limited run of 100 will sell out fast among collectors and the platform’s most loyal fans. For amateurs counting watts and seconds, the basic tool remains GPS hardware with a heart rate strap, not a classic automatic that only measures time.