Category: Cycling

  • Aero Wheels: How Many Seconds They Really Give

    Aero Wheels: How Many Seconds They Really Give

    Swap factory aluminium wheels for deep carbon rims and suddenly the bike feels like a motorbike. The question is whether that is physics or a placebo bought at four figure prices. The answer sits in between: aero wheels do cut time, just not where or by as much as most riders assume. Here is the breakdown in watts and seconds.

    Where the free watts come from

    A wheel is the second-largest surface on a bike hitting the air, after the tyre. A deep aero rim keeps airflow attached instead of letting it tear away, which cuts drag. The effect: at the same power, the bike goes faster, or holds the same speed for less effort.

    Wind tunnel numbers are scattered, and that spread matters. Moving from a shallow aluminium box-section rim to a carbon aero wheel can save anywhere from a few watts to several dozen, depending on rim depth, tyre width, speed and rider position. Some conservative tests at 40 km/h show only a few watts of difference; others, at higher speeds and with deeper rims, reach 20 to 40 watts. A more concrete, repeatable reference point: a deep 60 mm wheel alone saves roughly 10 watts over factory aluminium at 40 km/h. That is not a rounding error. It is a difference no amount of training closes in a week.

    How many seconds that is on the road

    Watts are abstract, seconds are not. 10 watts of savings is well over half a minute over 40 km: at around 250 W that works out to roughly 40 seconds, and the slower the pace, the more time the same wattage saving buys. A full swap from aluminium box-section to carbon aero realistically means several dozen seconds over a 40 km time trial, depending on the models tested and conditions.

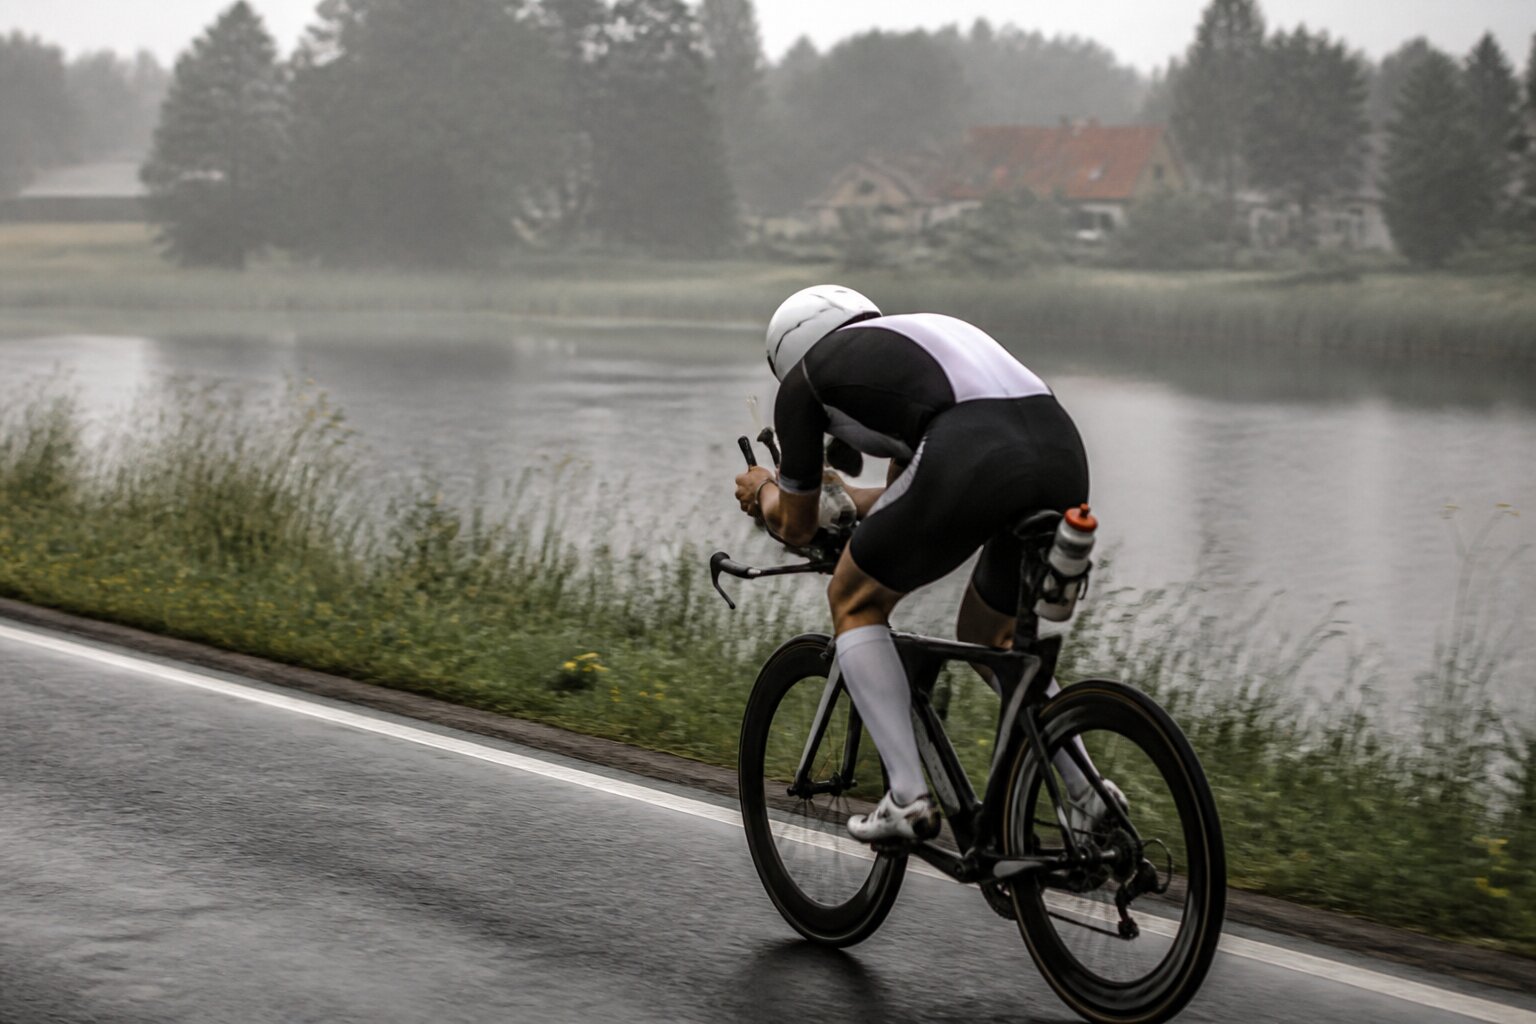
    The key point: aero wheels work best exactly where a triathlete spends most of their time, on flat ground, at steady, even power. That is precisely the profile of a triathlon bike leg. No surges, no pack to hide in: it is a solo effort, and air resistance is the main opponent. Aero wheels are built for exactly this scenario.

    Watt savings vs speed: what deeper wheels give you

    Illustrative estimate against a factory aluminium box-section wheel. Drag rises with the cube of speed, so the same wheel yields more watts as speed increases. Anchor point: 50 mm wheels are about 10 W at 40 km/h (wind tunnel test).

    0510 15202530 303540 4550 speed (km/h) savings (W) ~10 W @ 40 km/h 35 mm rim (VR 35) 50 mm rim (VR 50) full disc / 80 mm

    Where the sweet spot for depth actually sits

    This is the most important buying lesson: the biggest performance jump comes from moving off a shallow box-section rim onto an aero profile of 30 to 40 mm. Adding depth beyond that is marginal-gains territory, smaller and smaller returns for more and more money.

    In practice, that means a rider on factory aluminium gets the most out of the first decent pair of aero wheels. Going from 50 mm to 80 mm, or to a full disc, is fine-tuning the last few seconds, worthwhile for someone racing for the podium, less so for an amateur chasing a personal best.

    Worth knowing: for that first meaningful jump off aluminium, Van Rysel’s carbon wheels cover both ends, 35 mm for stability and climbs, 50 mm for flat aero work. Both have a 22 mm internal rim width for 28 mm tyres, exactly the range described above.
    WheelRim depthPriceBest for
    Van Rysel VR 35 Carbon35 mm€799.99Riders moving into aero for the first time, hilly and windy courses, anyone who values stability over the last few watts
    Van Rysel VR 50 Carbon50 mm€899.99Flat triathlon courses, a single pair for everything, still manageable in crosswind

    Disc wheels and crosswind: the cost of depth

    A full rear disc is the fastest option on a flat, windless course. But depth has a cost: the deeper the rim, the harder the bike is to control in a crosswind. A side gust catches a deep rim like a sail and pulls at the handlebars.

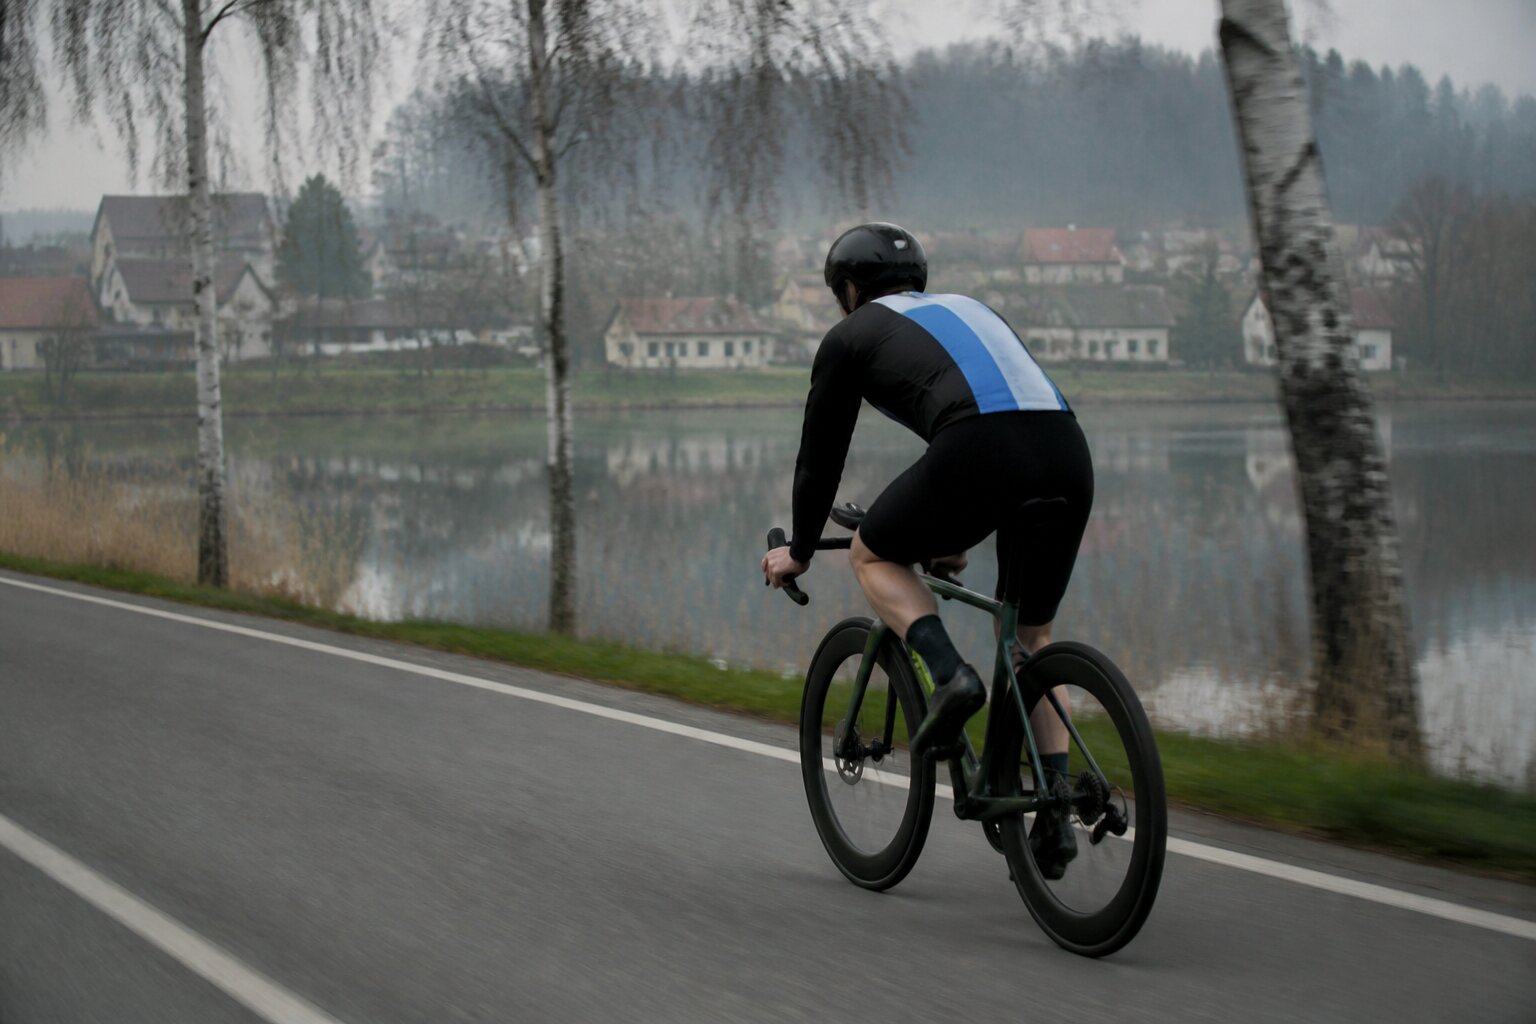
    For an amateur, the practical rule is simple: on a windy, technical coastal course, a deep front wheel can be more stressful than it is fast. Many professionals on such courses deliberately run a shallower front, around 50 to 60 mm, and a deeper or disc rear: the front handles steering, the rear handles speed. The rear is shielded by the frame and the rider’s body, so a disc causes fewer problems in the wind.

    Before spending the money

    Before reaching for wheels in the four figure range, check the cheaper watts first. A good, aero position on the bars saves more than any wheel: the body, not the equipment, is the biggest sail on a bike. A fresh, fast tyre at the right pressure is another set of free seconds. Only once position and tyres are sorted do aero wheels become the logical next step.

    If buying, look for a wide rim, 21 to 25 mm internal, matched to wider 28 mm tyres. The market is moving away from 25 mm tyres toward 28 mm, because a wider tyre on a wide rim tends to be both faster and more comfortable. Rims narrower than 21 mm internal are already outdated. The price spread on decent aero wheels is huge, from around €800 for a reasonable set to several times that for the top models, so it is worth setting a budget first and then looking for the deepest rim that fits it without compromising quality.

    Picks for the 2026 season
    1. Windy, hilly courses: Van Rysel VR 35 Carbon (35 mm). The biggest gain comes from that first jump, and the shallower front does not pull at the bars.
    2. Flat triathlon, one pair for everything: Van Rysel VR 50 Carbon (50 mm). Aero on the flat, still manageable in the wind.
    3. Before adding depth: sort the position on the bars and get a good tyre first. A disc or an 80 mm wheel is fine-tuning the last few seconds, and matters most for riders racing for the podium.
  • Indoor Trainer ERG Mode: When It Beats Riding Outdoors

    Indoor Trainer ERG Mode: When It Beats Riding Outdoors

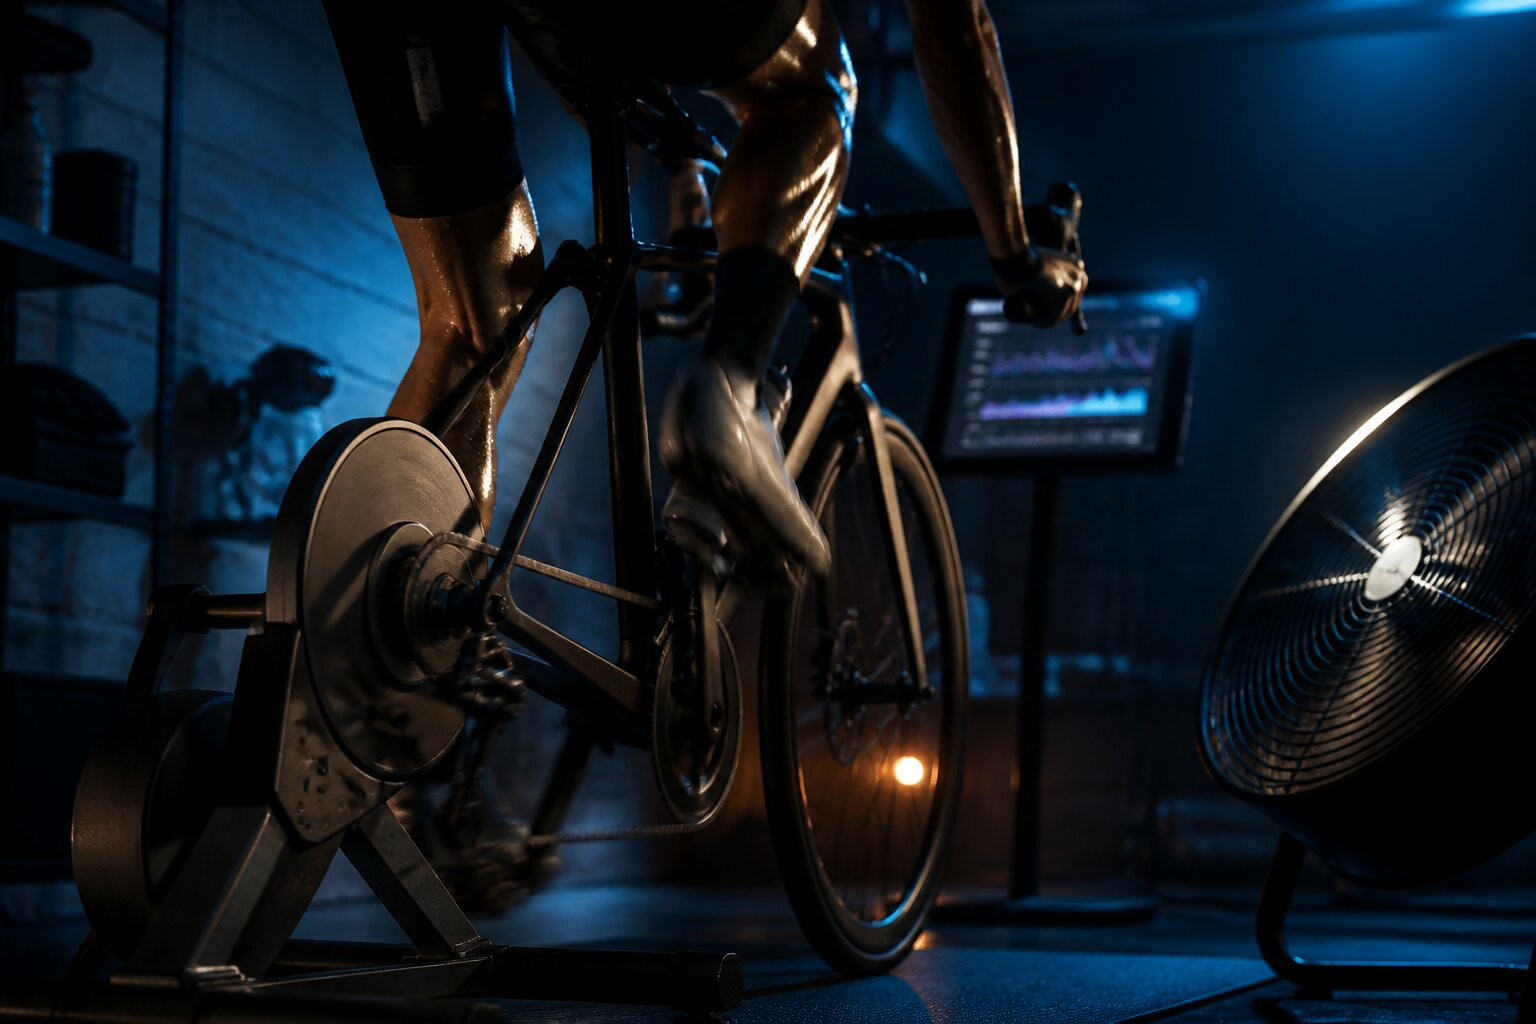
    Summer, sunshine, and the trainer comes out in the basement? Sounds like heresy. Yet many triathletes do their best VO2max and threshold intervals in the pain cave, not on the road. The reason is simple: on a trainer, a session comes out exactly as planned, to the watt and to the second.

    What ERG mode actually does

    ERG is the mode where the trainer manages power itself. Set a target, say 280 watts, and the resistance unit holds that value regardless of how the rider pedals. Cadence changes, power stays fixed: the trainer adds or removes resistance to match. In practice a good trainer holds the target to within a few watts (manufacturers typically claim about plus or minus 2 percent accuracy, though the real figure depends on calibration and how warmed up the unit is).

    The consequence is that there is no way to cheat. When fatigue hits and a rider would normally back off a few watts, ERG does not allow it, holding the set power until the interval ends. It is a coach that does not negotiate.

    Why short intervals come out cleaner indoors

    Picture a 10-minute threshold interval at 250 watts on the road. A junction, a red light, a climb, a car, a gust of wind: power jumps around and the file looks like a seismograph. The average might hold up, but the effort itself is ragged.

    The same interval indoors looks like a ruler. Short, precise efforts, VO2max sets, threshold work under 20 minutes per interval, come out cleaner indoors because the noise disappears: traffic lights, traffic, changing terrain. The training file is technically clean, 10 minutes is exactly 10 minutes, and 250 watts is 250 watts. A high signal-to-noise ratio means the data is readable and the rider knows exactly what was done.

    Summer adds one more argument: in a basement with a fan, hard intervals happen without a fight against 32°C (90°F) heat, which would cut power anyway. Above about 32°C (90°F), power drops can exceed a few percent even in athletes who are heat-adapted.

    What ERG will not give

    Precision has a flip side. ERG removes all the variability of real riding: terrain, wind, managing pace while fatigued. Those are exactly the skills that matter on race day, when a rider has to manage power alone on a changing course without blowing up on the first climb.

    In other words, a trainer in ERG mode builds the engine but does not teach how to drive the car. Riding the entire winter and spring in ERG only can leave a rider with a great FTP and zero feel for pacing.

    The balance: combine both worlds

    The strongest athletes do not pick one or the other. They combine both modes. ERG and the trainer handle the precise interval work, building power and VO2max in controlled conditions. Riding outdoors in free-ride mode covers what a trainer cannot teach: pacing, bike handling, feel for the bike, and long, easy volume on real terrain.

    A practical split for the racing season: hard, short intervals stay on the trainer in ERG, for a clean file. Long endurance rides and race-simulation bike legs happen on the road, in an aero position, on real terrain. That builds both the engine and the driver.

  • Chain Waxing: The Watts You Save and How to Do It at Home

    Chain Waxing: The Watts You Save and How to Do It at Home

    Everyone is hunting for free watts. Thousands go on aero wheels, an aero helmet and a wind-tunnel trisuit, while the chain gets a drop of lube once a month. Yet the drivetrain is the one place on a bike where power genuinely leaks away, and it happens to be cheap to get back. Waxing is not magic. But on a dirty course after 180 km, it can make a difference.

    How many watts is this really?

    No spin: on a clean chain, the difference between a good wax and the best oil-based lube is minimal. Independent tests at 250 W power showed paraffin was faster by only 0.24 W than the best PTFE-additive oil. That is within the margin of measurement error. If the story ended there, it would not be worth the bother.

    The catch is that a chain does not stay clean. After exposing both drivetrains to dust, sand and water, wax’s advantage grew to around 2.5 W. Against cheaper drip lubes, waxing can add another 6 to 8 W. That is real currency, about the same as paying for a more expensive set of wheels.

    The conclusion: wax does not win because it is magically slick at the start. It wins because it does not collect dirt. Oil acts like tape for sand; wax dries into a hard shell and abrasive grit simply falls off.

    Why wax wears less and protects the drivetrain

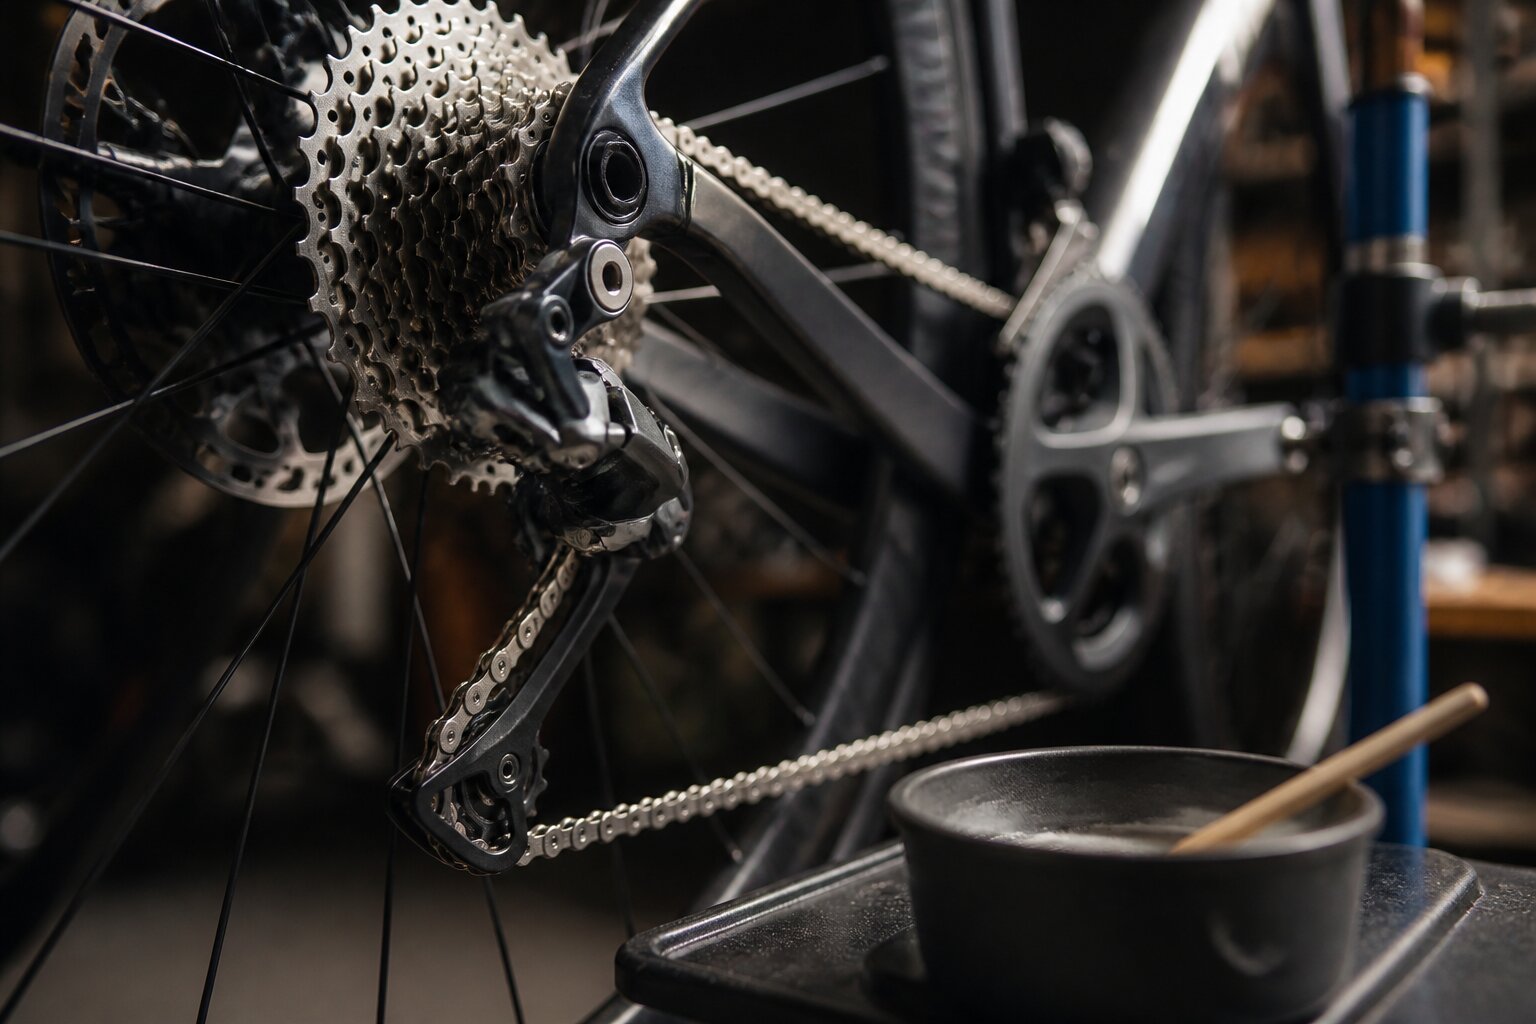
    Wax has a lower coefficient of friction and, more importantly, it stays inside the rollers and pins, exactly where the chain does its work. A wax bath, dipping the whole chain in melted paraffin, is the current gold standard. Hot wax works into every gap, and once it sets it forms a dry layer that does not attract dirt.

    The second benefit matters just as much for the wallet. A waxed chain extends the life of the cassette, chainrings and the chain itself, because grit mixed with oil grinds down cassette teeth like polishing paste. Less abrasive friction means the whole drivetrain wears more slowly.

    A bonus worth appreciating in transition: the drivetrain stays clean. No more black tattoos on the calf or grease on the hands before the start.

    Wax bath versus drip wax

    There are two routes. A wax bath (immersion) gives the best result but means removing the chain, melting paraffin and a bit of patience. Liquid wax (drip wax) goes on like an ordinary lube, straight from the bottle: more convenient, but the layer is thinner and needs topping up more often.

    For a triathlete the logic is simple. Anyone targeting a 70.3 or a full IRONMAN and wanting to save every watt over 180 km should do a proper wax bath once a season and top up with drip wax between sessions. Anyone still testing the idea should start with the drip version and judge for themselves whether a cleaner drivetrain is worth it.

    How to wax a chain at home, step by step

    The first waxing is labour-intensive, because a factory chain has to be completely degreased. This is the most important step: wax will not bond to leftover factory grease. Skip it and the whole job is wasted.

    StepWhat to do
    1. DegreaseShake the new chain in a degreaser (such as mineral spirits or denatured alcohol), several baths until it runs clear. This step cannot be skipped.
    2. DryThe chain has to be completely dry. Moisture trapped in wax causes corrosion from the inside.
    3. Wax bathMelt paraffin in a container (an old pot or a slow cooker works), submerge the chain for a few minutes, stir so the wax works into the rollers.
    4. Cool and flexTake the chain out, hang it to set, then flex the stiff chain by hand until it runs smoothly again.
    5. FitInstall it, ride a few metres, done.

    Topping up is simple: once the chain starts to rattle, or after wetter, dirtier rides, repeat the bath or add drip wax. For a wax bath, look for ready-made paraffins such as Silca Hot Melt, Molten Speed Wax or CeramicSpeed UFO. For drip wax, typical products are Squirt or Silca Super Secret, sold at bike shops and larger retailers. Prices shift with the season, so it is worth comparing before buying.

    Is it worth it? The verdict

    Racing against the clock and counting every watt: yes. Not because wax makes a huge difference on a clean chain, it does not, but because on a real, dusty course it holds its form longer than oil, while also saving the cassette from an early replacement. It is an investment that pays back in watts and in money.

    Riding mostly for fun, with no interest in a pot of melted paraffin: a good oil-based lube and regular cleaning will still do the job. Just do not call a drop once a month on a dirty chain drivetrain care.

  • Cornering and Descending: Where Triathletes Lose Time

    Cornering and Descending: Where Triathletes Lose Time

    You have trained your FTP, you own an aero helmet and expensive wheels. Yet at every corner you brake down to walking pace. You lose distance that you then claw back with brutal effort. Triathletes often ride solo, so cornering technique rarely gets any real practice. On a twisty course it is technique, not raw power, that decides the result. The good news is that cornering and descending can be learned.

    The corner starts on the straight

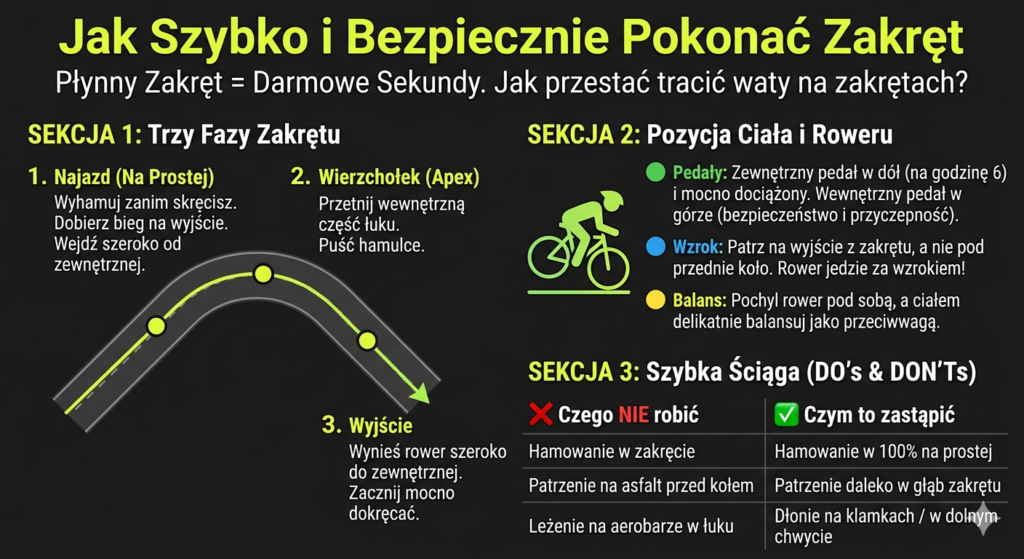
    The most important part of a corner is the approach. That is where the key decisions get made. The rule is simple: do all your braking on the straight, before you lean the bike over.

    Once the bike is leaned, the tyres need to hold grip through the arc. Braking mid lean is the fastest way to slide a wheel and crash.

    The ideal line fits in three words: enter wide, clip the apex, exit wide. A wide arc lets you carry higher speed. Pick the right gear before you enter the corner too, so you can accelerate hard the moment you are through it.

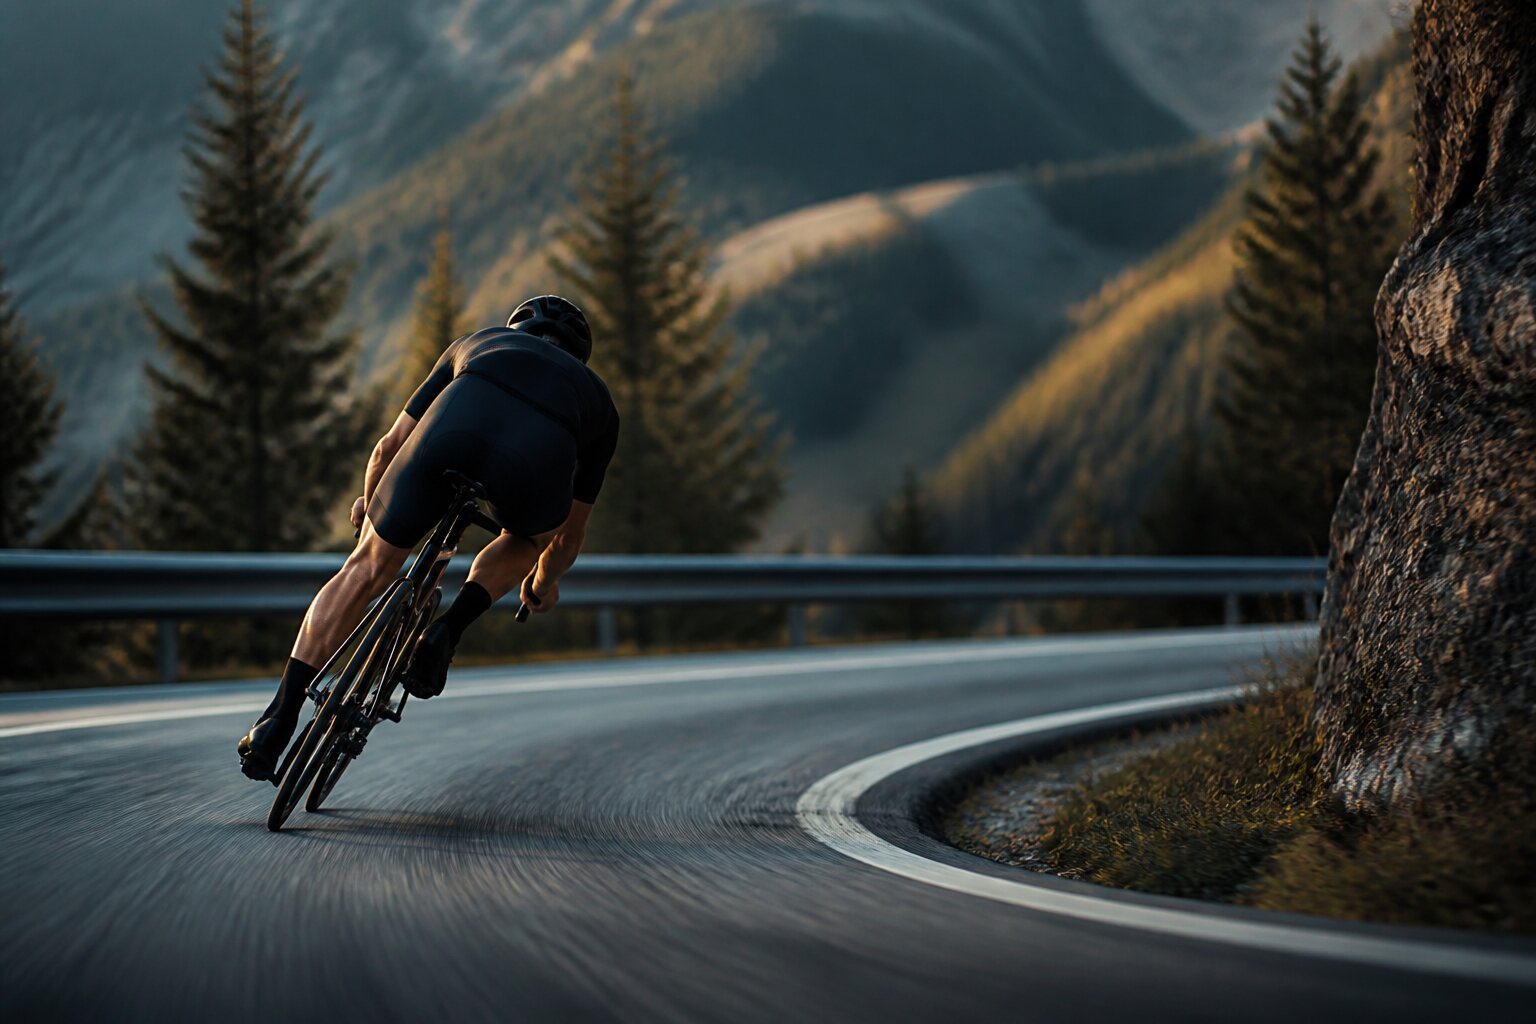
    A cyclist leaning into a corner on a road descent

    Outside pedal down

    This is the detail that changes everything. In a corner, set your inside pedal up. Shift your full body weight onto the outside pedal, down.

    That lowers your centre of gravity and presses the tyre harder into the tarmac, so you get maximum grip.

    You steer a bike mainly by leaning it, not by turning the bars. Lay the bike underneath you and use your body as a counterweight. Straighten the inside arm slightly. Most important: look where you want to exit, not at the front wheel. The bike always follows your eyes.

    A descent is no place to panic

    Confidence on descents and in corners comes from the same fundamentals. Riders who fear speed brake too hard and lose valuable momentum. Instead of grabbing the levers, apply these rules:

    • Smooth modulation: feather both brakes lightly at once. Avoid sudden inputs that lock the wheels.
    • Safe hand position: on a straight descent you can stay on the extensions. Once corners appear, move your hands to the drops or the hoods immediately. That gives you full control with the brakes under your fingers. The aero position does nothing for you if fear makes you brake to a standstill.

    How to practise it

    Most mistakes come from panic and poor position, not from weak tyre grip. Practise somewhere safe, away from traffic:

    1. Figure eights in a car park: find an empty lot. Ride tight figure eights, going lower each time. You will find out exactly how much grip your tyres have.
    2. Deliberate line: on a familiar, safe loop, practise entering wide and aiming for the apex. Repeat until it becomes automatic.
    3. Gentle descents: start on shallow hills. Drill your brake modulation and a stable position before you take on real climbs.

    Twisty courses are ahead this season, and the seconds technique buys you come free. They cost not one extra watt.

  • Garmin Instinct 3 AMOLED Review: A Triathlon Watch

    Garmin Instinct 3 AMOLED Review: A Triathlon Watch

    The Instinct 3 is for anyone who wants a Garmin with a proper AMOLED screen without paying Fenix 8 money, and without worrying that a crash on the bike will kill the watch. Military-grade durability, automatic T1/T2 transitions and Training Readiness, at $449.99 in the US for the 45mm AMOLED model. The question is what here is genuinely good, and what is a compromise.

    What is new in version 3

    The Instinct 3 gets an AMOLED screen, and it is a change you feel. Previous generations had a matte MIP panel at 176×176 px. The new 45mm version serves up 416×416 px on a 1.2-inch display. Colour, contrast and readability on data screens are not even comparable to the old version.

    It also gains a built-in LED flashlight at the top of the case. It sounds like a gimmick, but it is genuinely useful when carrying gear across a dark transition zone before sunrise.

    New too is Training Readiness, a feature Garmin has finally brought to the Instinct line. It analyses sleep, HRV, training load and recovery to tell you, plainly, each morning whether you can push hard or should back off.

    How it works for triathlon

    Automatic T1/T2 transitions work straight out of the box. Start a triathlon profile and the watch detects the switch from swim to bike to run without you touching anything. It also supports duathlon and multisport.

    Training data on offer at the start line: VO2max, heart rate zones, training effect, training load, race time prediction, interval training with custom sessions, and training plans through Connect IQ. Pool and open-water swimming both get full support.

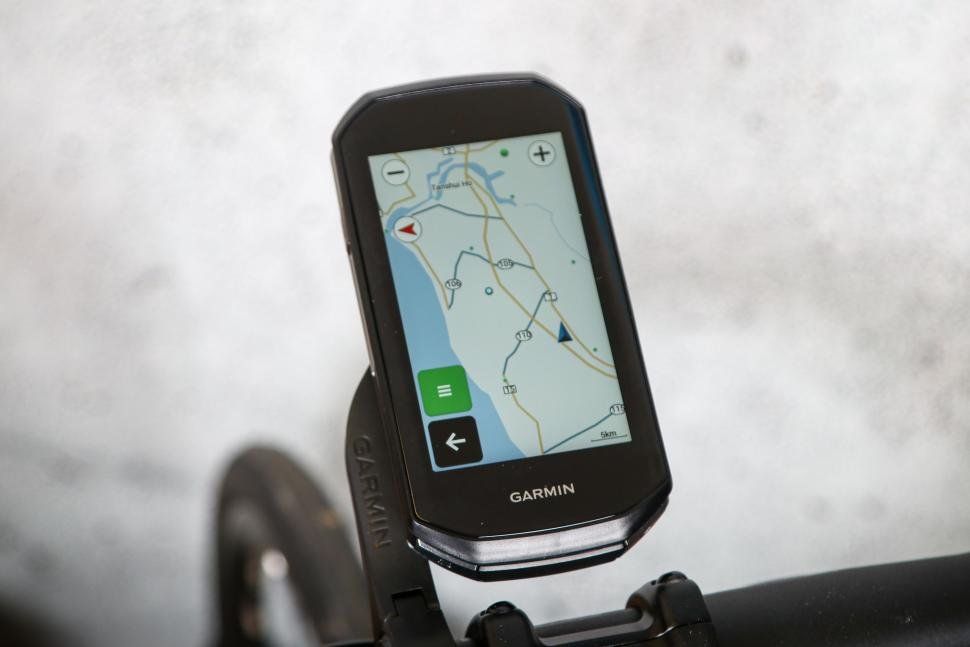
    What is missing: map navigation. The Instinct has GPS but no tile maps. Anyone riding new routes and needing a map should look at the Fenix or Epix instead.

    A touchscreen? Not on the AMOLED version. That is a deliberate trade-off from Garmin, for battery life and durability, but it is worth knowing before buying.

    Battery: which one to pick

    The Instinct 3 comes in four variants: AMOLED 45mm, AMOLED 50mm, Solar 45mm and Solar 50mm. For a triathlete that is an important decision.

    AMOLED 45mm: up to 18 days in battery-saver watch mode, or around 7 days with always-on display, and about 23 hours of multiband GPS, more than enough for a full IRONMAN.

    Solar 45mm: up to 40 days standby with regular sun exposure, effectively indefinite at around three hours of sunlight a day, but with the MIP screen and its lower resolution.

    For a triathlete racing through a full season and training regularly, the AMOLED makes more sense: the training data is simply easier to read during intervals and on the bike.

    Price and where to buy it

    Garmin lists the Instinct 3 AMOLED 45mm at $449.99 in the US. The 50mm version is $499.99. Both prices are Garmin’s own suggested retail; discounts at other retailers can bring the AMOLED 45mm well below that figure.

    For comparison, the Garmin Forerunner 965 (full maps, AMOLED, triathlon profile) runs $599.99 in the US. The Instinct 3 is therefore a solid option for anyone who wants a Garmin with AMOLED and a triathlon mode without spending a fortune and without needing maps.

    Verdict

    The Instinct 3 AMOLED is an honest triathlon watch for an athlete who:

    • trains regularly and wants Training Readiness plus automatic transitions,
    • prefers a mechanically tough watch (MIL-STD-810 rated for shock and temperature, 10 ATM / 100 m water resistance),
    • does not need maps or a touchscreen,
    • does not want to overpay for a Fenix 8.

    If navigation is the priority, look elsewhere. If training and durability are the priority, the Instinct 3 AMOLED is a solid choice at a reasonable price.

  • Wahoo KICKR Core 2 Review: Wi-Fi and Zwift Cog for $399

    Wahoo KICKR Core 2 Review: Wi-Fi and Zwift Cog for $399

    The Wahoo KICKR Core 2 is the first mid-range trainer where Wahoo seems to have understood that the mid-tier does not have to be a stripped-down version of the flagship. Starting price is $399 / €399 / £399. At that price you get Wi-Fi as standard, a Zwift Cog with Click v2 included, and 10Hz Race Mode: features that a year ago were not even on the $800 KICKR V6.

    This is the biggest overhaul of the Core since the original launched in 2018.

    What changed

    Wi-Fi as standard. Until now, Wi-Fi was reserved for the KICKR V6 and KICKR Move, trainers north of $1,000. Now it comes in the Core for $399. Wi-Fi means more stable pairing with the app, automatic firmware updates and faster syncing with other devices.

    Zwift Cog and Click v2 in the box. The Cog is a cassette-replacement cog compatible with almost any 8 to 12-speed bike, no cassette swap required. Click v2 is a new remote with two double buttons for shifting virtual gears in Zwift. Wahoo gives a choice: the version with Cog and Click, or a classic 11-speed Shimano cassette.

    Race Mode. New for this generation; the original Core did not have it. Race Mode raises the frequency of power-data transmission from 1Hz to 10Hz over Wi-Fi. In practice, the app sees your watts with ten times less lag. In the critical moments of a virtual race, an attack on a climb, a counterattack on a descent, that is the difference between success and getting dropped from the front group. It is the exact same 10Hz Race Mode found on the flagship KICKR V6.

    Other additions: a Sensor Hub (a Bluetooth bridge for connecting sensors to the app), encrypted Bluetooth pairing (compliant with EU standards), redesigned flat legs for better stability and easier setup, and status LEDs showing connection and Wi-Fi status.

    Technical specifications

    SpecWahoo KICKR Core 2
    Maximum power1,800 W
    Maximum simulated incline16%
    Claimed accuracy+/-2%
    Weight13.6 kg
    ConnectivityWi-Fi, ANT+, Bluetooth
    Powermains
    Typedirect drive

    1,800 W of maximum power is a figure the typical age-grouper will never touch. 16% incline covers most simulated climbs on Zwift; Alpe du Zwift tops out at 14%.

    Who it’s for

    A trainer for the age-grouper who:

    • wants to race on Zwift and needs a fast, responsive trainer (Race Mode)
    • does not want to buy a bigger toy every year, but is tired of trainers without Wi-Fi
    • already has a triathlon or road bike and wants to stay with direct drive
    • trains 10 to 15 hours a week, more than an occasional session, less than a professional power database

    Not a trainer for:

    • someone who wants an integrated Zwift Ride plus trainer setup, a separate package that runs roughly $800 to $1,050 more
    • someone who already has a KICKR V6 or Move, where the difference is not worth the upgrade
    • a casual rider who opens Zwift once a month, for whom an older Core still on the secondhand market for about $320 to $400 will do

    The competition: what to pick instead

    Zwift Hub One ($599 in the US, £549 in the UK, with a year of Zwift included) is the closest rival. On the plus side, it also includes a Zwift Cog and identical virtual shifting. On the downside, no Race Mode, no Wi-Fi, and a narrower app ecosystem than Wahoo. The bundled Zwift subscription helps first-timers, but priced against the trainer alone, the Core 2 comes out cheaper.

    Tacx Flux S ($749.99 in the US) has no Wi-Fi, weaker claimed accuracy (+/-3%) and a lower maximum power ceiling. It suits riders who do not need the top-end features.

    Saris H4 ($999.99 in the US) costs more and is very durable, but does not have Wi-Fi as standard. That is exactly where Wahoo sets itself apart.

    Summary

    The Wahoo KICKR Core 2 is the best direct-drive trainer in its price bracket for 2026. Wi-Fi as standard, 10Hz Race Mode and a Zwift Cog in the box are a combination nobody else offers at this price. Wahoo has understood that winning over the age-grouper takes real features, not marketing polish.

    Is it a KICKR V6 killer? Not quite: the V6 runs quieter and has a better road feel. But for 80% of triathletes, the Core 2 is enough. Buying a first serious trainer: buy this one. Upgrading from an older Core: weigh whether Wi-Fi and Race Mode are worth $399. For Zwift racing, yes. For zone 2 aerobic base work, not necessarily.

  • Clip-On Aero Bars: Get Aero Without a TT Bike

    Clip-On Aero Bars: Get Aero Without a TT Bike

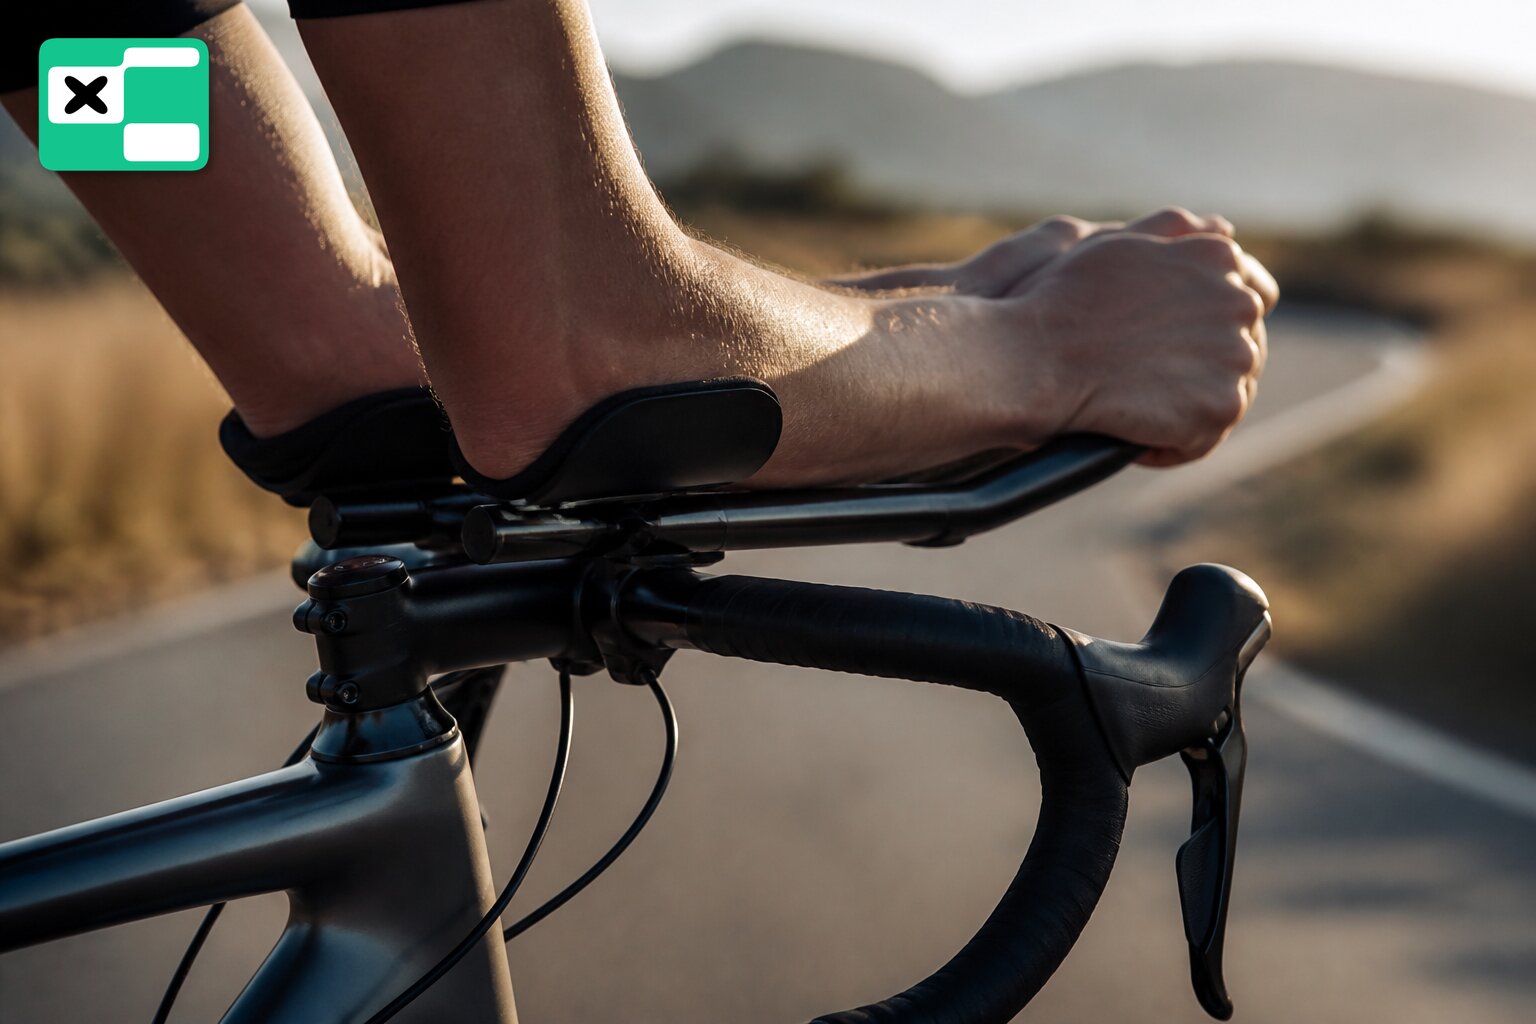
    A full time trial bike costs a fortune, and you have one road bike and a budget already spent on a wetsuit and a watch. The good news: clip-on aero bars get you into an aero position for under €50. They bolt onto a standard road handlebar and deliver what saves the most free watts on a bike, less frontal drag. Here is how to choose and set them up properly.

    Why triathletes use clip-ons

    On draft-legal distances, most amateur sprint ITU races, clip-on aero bars are banned. World Triathlon withdrew them from drafting races from the 2023 season for pack safety. Always check your own race’s rulebook. On long, non-drafting distances, IRONMAN, 70.3, most Challenge races, an aero position is the cheapest way to save energy. Tucking the torso and forearms cuts air resistance, which at 30 to 40 km/h eats most of your power. Clip-ons on a road bike are also a good testing ground: you try the position before spending thousands on a dedicated time trial bike.

    Three things to check when choosing

    Adjustability. This matters most. An aero position is not natural, so you need to fine-tune pad height, and the width and angle of the extensions. The more adjustment range, the easier it is to find a setup you can hold for hours, not minutes.

    Pad height and spacers. Once clip-ons go on a road bike, the knees can come too close to the chest at the top of the pedal stroke, and it gets cramped. Spacers under the pads open that space back up and save your breathing.

    Handlebar compatibility. A clip-on needs a flat section of bar roughly 2 to 3 cm wide on each side of the stem. Check whether your aero bar even has somewhere to clamp on, not every one does.

    Aluminium or carbon: where to start

    Aluminium is plenty to start with. At Decathlon, the aluminium Van Rysel triathlon clip-ons cost €44.99, a sensible first buy to test whether an aero position works for you. Carbon is a bigger outlay: carbon-fibre clip-ons start at a few hundred dollars or euro and dedicated, integrated aero systems can run into the thousands, worth it once you know what you want and race against the clock. Among proven adjustable clip-ons, the names that keep coming up are Profile Design, Vision (TriMax) and Zipp (Vuka Clip), differing mainly in adjustment range and price.

    Set them up before you ride

    Start the extension angle level or slightly upward, up to about 10 degrees, so the forearms rest and the shoulders relax. Do the first outings on a turbo trainer or an empty, straight road: an aero position shifts the bike’s centre of gravity and handling, especially under braking and in corners. Get comfortable steering before riding into traffic.

  • Aero Socks: How Many Watts They Actually Save

    Aero Socks: How Many Watts They Actually Save

    You spend thousands on a bike, a time trial helmet and a wind tunnel fit, then pull on ordinary cotton socks and give away watts for free. Aero socks are one of the cheapest aerodynamic gains in triathlon: tens of USD’s instead of thousands. But how much of that is marketing, and how much is physics?

    How it actually works

    It sounds absurd: how can a piece of fabric on your ankle change anything? And yet it does. Your calf and ankle are among the body parts that cut through the air with every pedal stroke. Aero socks have a rough, textured surface or pronounced seams that deliberately trigger a turbulent boundary layer around the leg.

    That sounds counterintuitive, but that’s the point: turbulent flow shrinks the low-pressure zone behind your leg, the aerodynamic wake that slows you down. A smaller vortex behind the calf means less drag. It’s the same principle behind the dimples on a golf ball.

    How many watts: numbers, not promises

    Here you need to draw a hard line between lab tests and what you’ll actually see on the road.

    Manufacturers like to show their best numbers. Rule 28‘s own tests report a saving of around 8.5 W at 45 km/h, and claim more than 12 W over standard cycling socks at higher speeds. That’s impressive, but note the speed.

    Realistically, if you’re riding around 40 km/h or slower, expect 2 to 5 W of saving. Only above 48 to 50 km/h does the gain climb into double digits, because aerodynamic drag scales with the cube of speed. For most age-groupers riding at 32 to 38 km/h, the real gain sits at the low end of that range, but for the price, it’s still one of the most cost-effective upgrades on the whole bike.

    A few free watts over a full 180 km bike leg? You take it without thinking twice.

    What about the rules?

    In road cycling, the UCI regulates sock height: they can’t rise higher than halfway between the centre of the ankle bone and the head of the fibula (Article 1.3.003 BIS). That’s why road-legal aero socks are as tall as the rules allow.

    In triathlon you have more room. World Triathlon rules don’t restrict sock height as strictly, so some athletes reach for calf sleeves up to the knee, which are even more aero. Before you put them on for a race, check the rules for that specific event: they can differ between federations and series.

    What to look for when choosing

    • Height: taller usually means more aero, within the limits your event’s rules allow.
    • Texture and seams: these are what actually do the work. A smooth, elegant sock with no texture looks nice but is aerodynamically average.
    • Fit: it needs to sit like a second skin. Loose, bunching fabric ruins the whole effect.
    • Fabric for the heat: over a full-distance race in the sun, breathability and sweat-wicking matter as much as watts.

    There’s no shortage of decent options on the market. Van Rysel, Decathlon’s own brand, sells aero socks developed with pro teams and tested in a wind tunnel, a solid starting point if you want to try the idea without spending a fortune. Rule 28’s socks are the alternative, performing well in independent tests, though at a higher price.

    Verdict

    Aero socks won’t turn you into Laidlow. But in a world where single watts cost thousands, a few watts for the price of a pair of socks is math that’s hard to ignore. Put them on, forget about them, and go faster on the same legs.

  • Garmin Edge 1060: The First AI Bike Computer, Maybe

    Garmin Edge 1060: The First AI Bike Computer, Maybe

    Garmin is preparing a successor to the Edge 1050, and for the first time the word “AI” is being used seriously in the context of a bike computer. The device has already cleared certification in several regulatory databases, so a launch is not a vague rumour but a matter of weeks. A lot of speculation has built up around the rumoured “Edge 1060” and its features, so it is worth separating the confirmed facts from the wish list.

    What is actually confirmed

    The one hard fact is a new Garmin device with the identifier A04831, which has appeared in regulatory databases: Malaysia’s SIRIM and the TDRA registry in the United Arab Emirates. The entries date from April 2026, and the Malaysian approval is valid until 2031, which points to a full product rather than a minor accessory. A regulatory filing is a standard step just before launch, since a manufacturer needs approval before hardware reaches shelves.

    That is where the hard facts end. Garmin has not officially confirmed the name “Edge 1060”, or any specification. Some outlets note that the A04831 designation could just as easily point to an Edge 1050 Solar variant rather than a completely new flagship. A SIRIM filing also cannot be independently verified without an industry account, and the most reliable signal, an FCC filing in the United States, has not appeared yet. Everything below this point is trade-press speculation, not a manufacturer statement.

    On timing, Garmin’s two-year cycle points to a window in June or July 2026. The Edge 1040 launched in June 2022, and the Edge 1050 launched on 25 June 2024, so the rhythm fits. That is deduction from a calendar, though, not an announced date.

    What “AI-native” would even mean

    Most of the noise centres on the claim that the new model will be the first “AI-native” bike computer, designed around artificial intelligence from the ground up rather than having features bolted on. In practice that would mean shifting some analysis from the cloud onto the device itself.

    The most commonly speculated features are:

    • Live adaptive power pacing: the computer would adjust target power mid-ride using wind data and current Body Battery level, instead of sticking to a fixed Power Guide plan.
    • PacePro for cycling: an extension of the running feature, suggesting effort distribution based on terrain, current fatigue and historical power zones.

    None of these features have been confirmed by Garmin. They are reasonable industry guesses, not an official roadmap.

    Screen and battery

    One correction worth making: the Edge 1050 does not have an AMOLED panel. It uses a bright, high-resolution LCD screen, 3.5 inches, 480 by 800 pixels, at around 1,000 nits. Its main weakness is battery life, up to 20 hours in normal mode, which looks poor next to the Edge 1040’s more than 35 hours. Better energy efficiency for long rides is the obvious direction for a successor, rather than a screen overhaul. No concrete battery or screen specifications exist yet for the new model.

    What it might cost

    Garmin typically holds flagship Edge pricing at a similar level between generations. The Edge 1050 launched at $699.99. It is reasonable to assume a successor lands in a similar range, though a new screen or AI features could push it slightly higher. There is no official launch price yet.

    Should a triathlete wait

    If you are riding an older Edge and considering an upgrade, it is worth holding off for a few weeks. A launch looks close. Even if the new model turns out too expensive, its debut usually pulls down prices on earlier versions. If the AI features do deliver sensible, wind-aware power pacing, that would be real value for long-distance racers. The final verdict will have to wait until the device is actually on a set of bars.

  • Round Bottles Are a Parachute on Your Time Trial Bike

    Round Bottles Are a Parachute on Your Time Trial Bike

    A round bottle wedged into a classic frame cage can cost you several watts, and over 70.3 or full IRONMAN distance that adds up to real minutes lost. The problem is you still have to drink. So the question is not whether to carry fluid, but where and in what.

    A well-chosen hydration setup can be aerodynamically neutral, and in some cases acts like a fairing that makes you faster than riding with a bare frame. Here is how to approach it properly.

    Why bottle position matters

    On a time trial bike, your body position generates most of the aerodynamic drag, around 80%. Second in line is the zone around the frame, components and your hands. An ordinary round bottle sitting across the airflow acts like a small parachute.

    Rather than take manufacturer marketing at face value, it is worth looking at the numbers. The figures below come from independent wind-tunnel testing, including the San Diego Wind Tunnel commissioned by tech outlet AeroGeeks, and from technical documentation published by frame makers Cervélo and Specialized.

    Results are calculated for a standard race speed of 40 km/h:

    Bike setup and bottle positionLoss / gain in wattsEstimated time over 180 km
    No bottles at all0 W (baseline)n/a
    BTA system (horizontal, between the forearms)Gain: ~1.5 WAbout 35 to 45 seconds faster
    Behind the saddle (two bottles, vertical)Loss: ~0.2 W (neutral)Negligible, under 5 seconds
    On the frame, down tube, round bottleLoss: ~5.6 WAbout 2 minutes 15 seconds slower
    On the frame, seat tube, round bottleLoss: ~7.2 WAbout 3 minutes slower
    Dedicated profiled frame bottleLoss: ~1.5 WAbout 35 seconds slower

    The golden rule: stay in the aero position

    The main lesson from these tests is not only about the drag of the bottle itself. What matters most is that you have to be able to drink without breaking the aero position. Every time you sit up to grab a bottle and put it back on the frame, you lose real time and break your pedalling rhythm. If your setup forces you to keep sitting up on the saddle, you are giving back exactly the minutes you paid for when you bought a time trial bike or clip-on bars.

    Three zones for mounting bottles

    Wind-tunnel engineers have tested three sensible locations for years. Each solves a different problem.

    Between the arms: BTA

    The clear number one, and the default choice for any triathlete. The system mounts directly on the aerobar extensions, and you drink through a straw without lifting your head out of the aero position.

    Independent testing confirms a genuine paradox: a bike with a bottle mounted this way is aerodynamically faster than a completely bare bike. The bottle fills the empty space between the arms and acts like a fairing, smoothing the airflow that would otherwise hit the rider’s chest.

    Proven systems include the Profile Design FC series (FC25, FC35) and the A2, integrated setups with a straw, a mount for a bike computer and a dedicated pocket for gels. At the premium end, the XLAB Torpedo system uses a carbon or composite mount with excellent stability and a retractable straw that does not flap in front of your face in the wind.

    Behind the saddle: your rear reservoir

    The classic answer for a second and third bottle on long distances, 70.3 and full. In the wind tunnel this zone is usually neutral, because the bottles sit in the aerodynamic shadow of your thighs and glutes, generating only minimal turbulence when properly tucked away.

    The XLAB Carbon Wing and Delta series are the market benchmark for this position. Rear cages can also act like a catapult under centrifugal force on rough roads: mount them as close to vertical as possible and use only models with a firm grip. A lost bottle costs you your fuelling plan and risks a littering penalty on the course.

    On the frame: when a profiled bottle makes sense

    An ordinary round bottle on the frame is an aerodynamic problem, especially on the seat tube, where the air is already turbulent from the rider’s legs. If your time trial bike has no integrated storage, a dedicated profiled bottle is the only fix.

    The Elite Crono CX is the proven option: a flattened, dedicated bottle with a matching cage that blends into the frame’s lines and minimises turbulence, recovering most of the lost watts.

    What else to look for in a bottle

    Choosing the position is half the job. The bottle itself has to hold up on practical and health grounds too:

    1. Fast-fill system: essential for clip-on setups on long distance. You need to be able to pour water from a bottle handed over at an aid station without stopping or unscrewing a cap, just tipping the liquid through a mesh or valve on the move.
    2. Clean materials, BPA and phthalate free: cheap plastic in full sun releases toxins and can leave an isotonic drink tasting off after two hours. Look for BPA- and phthalate-free labelling, ideally polypropylene.
    3. Anti-odour technology: good brands use internal coatings, often with silver ions or a silicone layer, so a bottle forgotten after a Sunday ride does not grow black mould inside.
    4. Soft nozzle and easy grip: at a high heart rate you do not want to fight stiff plastic. The bottle should be soft enough that one squeeze gives a strong flow, with a rubber nozzle to protect your teeth over rough ground.

    How to set up your bike

    • Racing sprint or Olympic distance? One front system between the extensions is enough. Over a 40 km bike leg, you do not need to carry a warehouse of fluid.
    • Racing 70.3 or full IRONMAN? Start with a front bottle as your main source, and add a rear system behind the saddle as a reservoir. At an aid station, grab a fresh bottle, top up the front reservoir, and drop the empty in the litter zone. The frame stays clean and slippery through the air.

    Three products that work in the aero position

    Three specific products that handle mounting, holding and drinking in the aero position well.

    ProductPricePositionWho it is for
    Profile Design Axis Grip Kage$35.25Front / cockpitTriathletes building a clean front end. Holds the bottle firmly and has an integrated mount for a Garmin computer between the aerobar extensions.
    Van Rysel Carbon 900 bottle cage€24.99Behind saddle / frameLight, 25 g, stiff carbon cage. Answers the problem of bottles ejecting behind the saddle on rough roads.
    Van Rysel FastFlow M 650 ml bottle€5.99Any, front or rearFitted with a valve that stops drips onto the frame and drivetrain, with a wide flow for quick drinking at a high heart rate.

    The bottom line

    Optimising a bike’s hydration setup is not about buying the most expensive gadgets, it is about removing guesswork. The wind-tunnel numbers show clearly that one badly placed round bottle can undo the effort behind an aero frame or helmet. Building a system for 70.3 or full IRONMAN, start with a base between the forearms, and keep any extra litres tucked in the aerodynamic shadow behind the saddle.